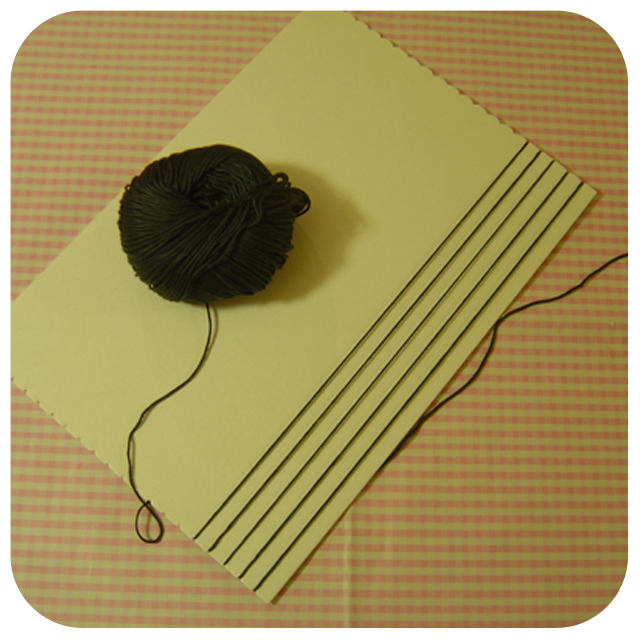
I have been asked to do a tutorial on board weaving ... I remember doing this at school, but it was fun to do it at my weaving class last month ... so here goes!
1. Making The Loom
You need a piece of thick card ... mounting board is the best as it won't bend. The piece I am using is an A4 size.
Mark along 2 opposite edges (top and bottom) little dashes 1cm apart.
Do it all along ...
You now need to cut out little notches ... I found it easier to go along in one direction cutting little slits at each mark.
And then flip the card over and go back making little V's.
Repeat along the top and bottom.
2. Warping Up
Putting your vertical threads on (your 'warp' threads) is just a case of wrapping them around the board.
Hold the end of the thread against the board and wrap it around it from the top to the bottom catching the thread in each notch.
When you have gone all the way along, flip the board over and tie it to the other end of the thread, diagonally across ... your warp threads should be secure now.
3. Weaving
Cut a piece of yarn about a metre long and use a large needle.
Start weaving (over one thread and under the next), I left the end out as I wanted to use them as tassels at the end. The threads going this way (side to side) are called 'weft' threads.
When you get to the end of the row and turn, go do the opposite of the row before (if you ended on an under, start on an over).
Keep hold of the thread when you turn at the end of the row, so it doesn't pull tight and start going in at the edge.
To change colour, I kept the threads out, but you can weave them in as you go or afterwards.
Keep pushing down the work you have done, so that the warp threads don't show.
Keep working up the board ... you can see here that mine has begun to go in in the middle slightly ... not good ;)
3. Removing the Weaving
You can weave right to the top of the board, but for this tutorial I have only gone half way up.
Turn the board over and cut along all the threads on the back.
Cut them in the middle of the board ... I have cut mine nearer the top as I didn't got all the way up the board ... you want an even amount of threads coming out of the top and bottom of the weaving.
Gently move all the threads away from the board.
Remove the board.
Now your warp threads need to be secured, there are a couple of different ways to do this, but for this I am using the easiest which is knotting.
I have just taken two warp threads that are next to each other and tied them.
Knot all the warp threads along one end and then the other.
The weft threads (the side to side ones) can either be woven in by hand or if you don't have many you can carefully sew them up the warp threads at the side.
As I had so many from changing colour, I thought I would make a feature of them and so have tied them together in 3's.
Trim all your tassels to the same length and you should end up with a pretty little mat :)
There are many different things you can do ... weave with different textures, add beads ... use paper, straws, card, anything really ... its all about having fun!
I hope you will have a go and would LOVE to see any weaving you do!


0 comments
I love reading your comments ... thank you xx